Here's how it all went down:
1. Bake a cake, any cake! From and box or your own recipe. I used a strawberry cake mix for my first batch. I baked it in one 9" x 13" pan, but you can use whatever you have.
2. Let cool.
 3. Crumble cake. I read you can use a mixer, but I just cut my cake up and then crumbled each section. Unless you have a very large mixing bowl, you might want to do this in halves--which is what I did.
4. Dollop in your frosting and begin mixing! You can use any frosting. I used store bought strawberry. One can is enough. If you do your cake in halves, remember to only use half of the frosting!
 I found that using your hands to really mix it together was the best way of doing it!
 5. Form balls. Some people online said they had to chill the mix before doing this, but I thought it was easy to work it right after mixing. I used a small ice cream scoop and then rolled the balls with my hands. They came out to be about the size of a ping-pong ball.
 7. While they are freezing, you can start on the chocolate. A lot of recipes use chocolate bark, but I decided to just go with chips and a little shortening. For these, I used semi-sweet chocolate chips. It took a little more than a normal sized package. For one regular sized package of chocolate chips, add 2 tablespoons of shortening in a double boiler. I didn't have a proper double boiler so I improvised with a metal bowl over a pot of boiling water. I brought the water to good boil, melted the chips, and then turned the heat down.
 9. If you're going to top these with something, you should do that right away. I topped my strawberry ones with coconut flakes!
 While I was waiting for my first batch of cake to cool (Step 6) I went ahead and baked another cake. This time it chocolate cake mixed them with vanilla frosting.
 I used mint chocolate chips (I know these are hard to find, but you can always add some mint/peppermint extract extract to chocolate chips) for the coating.
 And then I drizzled them with white chocolate. I found the white chocolate was a bit difficult to use in the beginning.. I just used a spoon and worked quickly though. I kind of like the abstract ones!
 These are a bit more fancy. :) Yay!
 For my last batch I made an orange cake (orange extract and peel into normal cake mix) with cream cheese frosting. It made for a light orange flavor and I dipped these in white chocolate and topped them with toasted pecan bits.
 And here are the three of them!
  Here is the platter I did for my friend Maddy's birthday. The very left is the orange cake with white chocolate, sans nuts (in case of allergies, etc.) and then the middle is the strawberry cake with semi-sweet chocolate, sans coconut.
 Yay! So delicious! They turn out to be super moist because the frosting is mixed in with the cake. All of the flavors were a big hit and I got tons of compliments, which was so nice. :) They were all my favorite--I'm really very happy with how each of them came out! Everyone said the mint tasted like Thin Mint Girl Scout cookies!
 I found that using your hands to really mix it together was the best way of doing it!
  5. Form balls. Some people online said they had to chill the mix before doing this, but I thought it was easy to work it right after mixing. I used a small ice cream scoop and then rolled the balls with my hands. They came out to be about the size of a ping-pong ball.
 6. Freeze balls for about 30 minutes.
 7. While they are freezing, you can start on the chocolate. A lot of recipes use chocolate bark, but I decided to just go with chips and a little shortening. For these, I used semi-sweet chocolate chips. It took a little more than a normal sized package. For one regular sized package of chocolate chips, add 2 tablespoons of shortening in a double boiler. I didn't have a proper double boiler so I improvised with a metal bowl over a pot of boiling water. I brought the water to good boil, melted the chips, and then turned the heat down.
 8. Dip! I just dropped a cake ball in, individually. I used a spoon to turn them, fish them out and set them on my Silpat (foil or wax paper work great, too). The spot where the spoon hit was was always bare so I just took a little chocolate and covered that spot. Make sure you have enough space on your drying sheet so they don't stick together--if the chocolate touches and hardens, they are sometimes difficult to break apart.
 9. If you're going to top these with something, you should do that right away. I topped my strawberry ones with coconut flakes!
 10. Stick in freezer or refrigerator to cool. I stuck mine in the freezer for awhile. After they were done, I pulled them off, put them in tupperware and then back in the freezer! Yay, first batch done! :)
 While I was waiting for my first batch of cake to cool (Step 6) I went ahead and baked another cake. This time it chocolate cake mixed them with vanilla frosting.
  I used mint chocolate chips (I know these are hard to find, but you can always add some mint/peppermint extract extract to chocolate chips) for the coating.
  And then I drizzled them with white chocolate. I found the white chocolate was a bit difficult to use in the beginning.. I just used a spoon and worked quickly though. I kind of like the abstract ones!
  These are a bit more fancy. :) Yay!
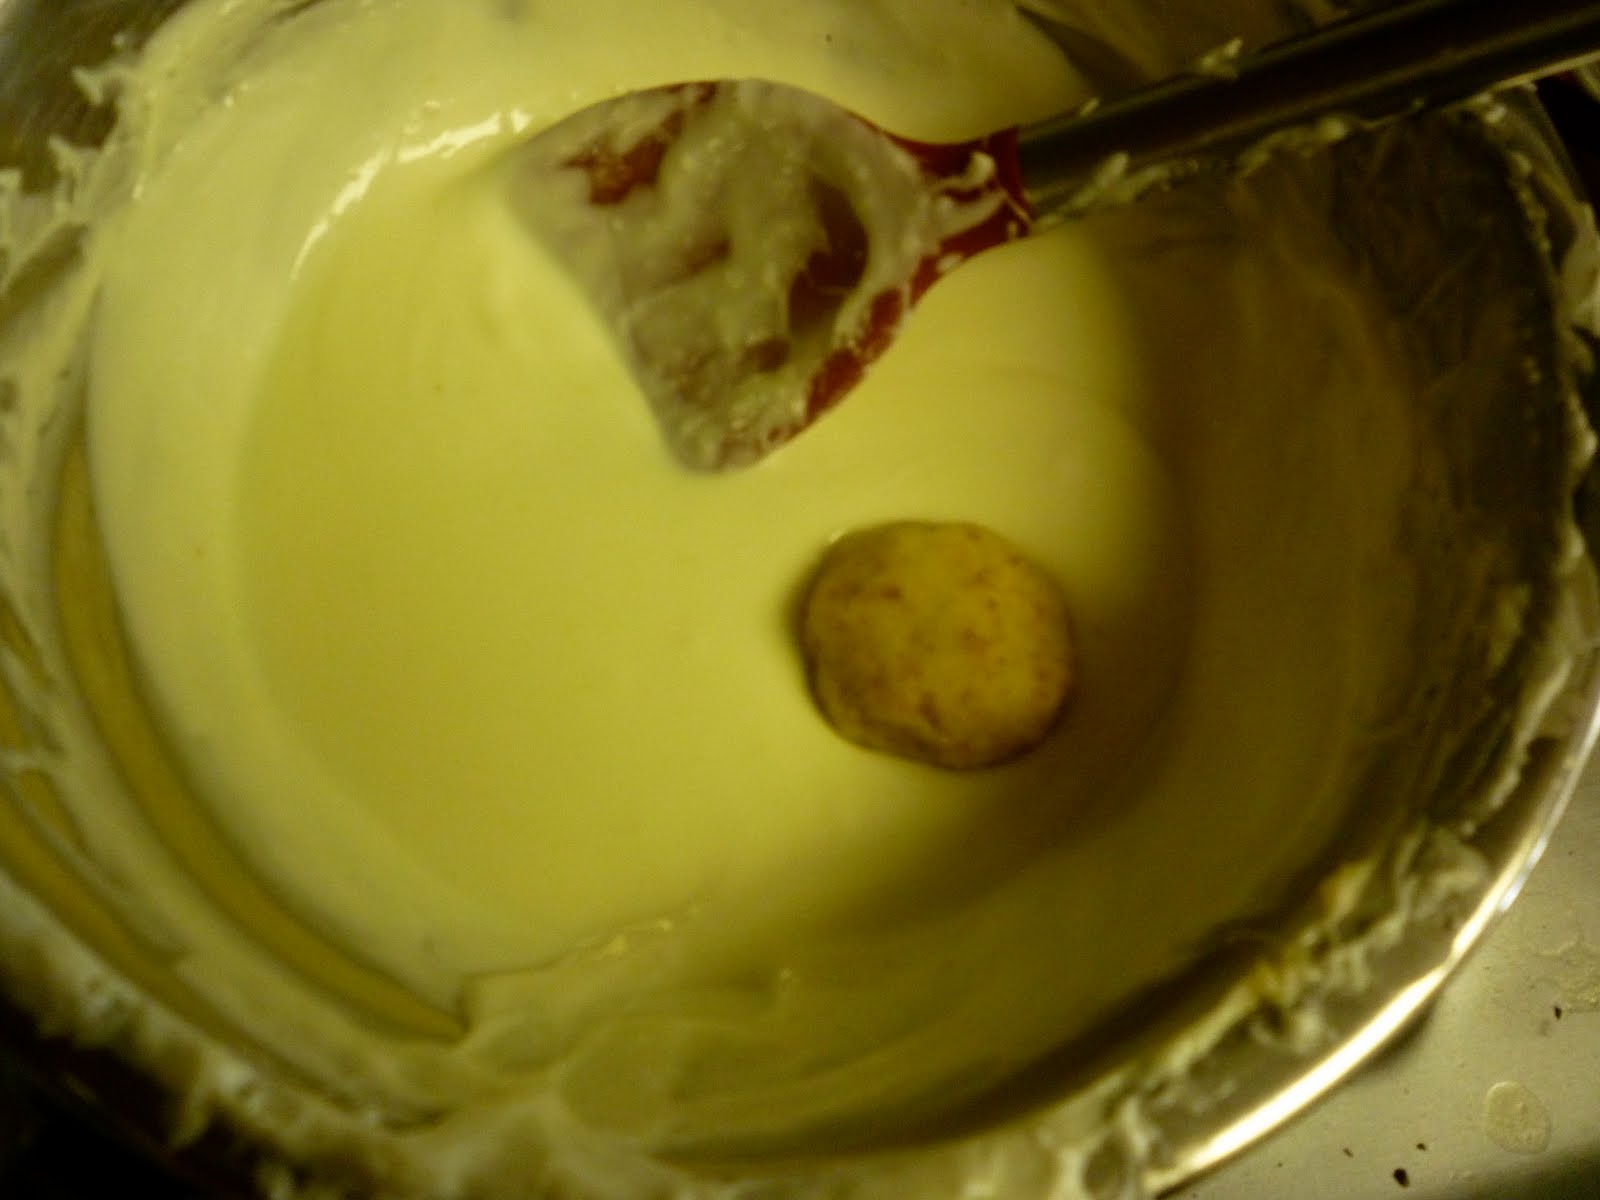 For my last batch I made an orange cake (orange extract and peel into normal cake mix) with cream cheese frosting. It made for a light orange flavor and I dipped these in white chocolate and topped them with toasted pecan bits.
  And here are the three of them!
 - Left: Chocolate cake with vanilla frosting and mint chocolate coating with white chocolate drizzle.
- Middle: Orange cake with cream cheese frosting and white chocolate coating with toasted pecans nibs.
- Right: Strawberry cake with strawberry frosting and semi-sweet chocolate coating with coconut flakes.
 Here is the platter I did for my friend Maddy's birthday. The very left is the orange cake with white chocolate, sans nuts (in case of allergies, etc.) and then the middle is the strawberry cake with semi-sweet chocolate, sans coconut.
 Yay! So delicious! They turn out to be super moist because the frosting is mixed in with the cake. All of the flavors were a big hit and I got tons of compliments, which was so nice. :) They were all my favorite--I'm really very happy with how each of them came out! Everyone said the mint tasted like Thin Mint Girl Scout cookies!
 These aren't difficult, but they are time consuming! Definitely worth it, but just know that each cake will yield about 50-60 of these, and they are a good two-bite size!
those picures are making me droooool
ReplyDelete